How to Plan Studio Prelight for a Better Shoot Day
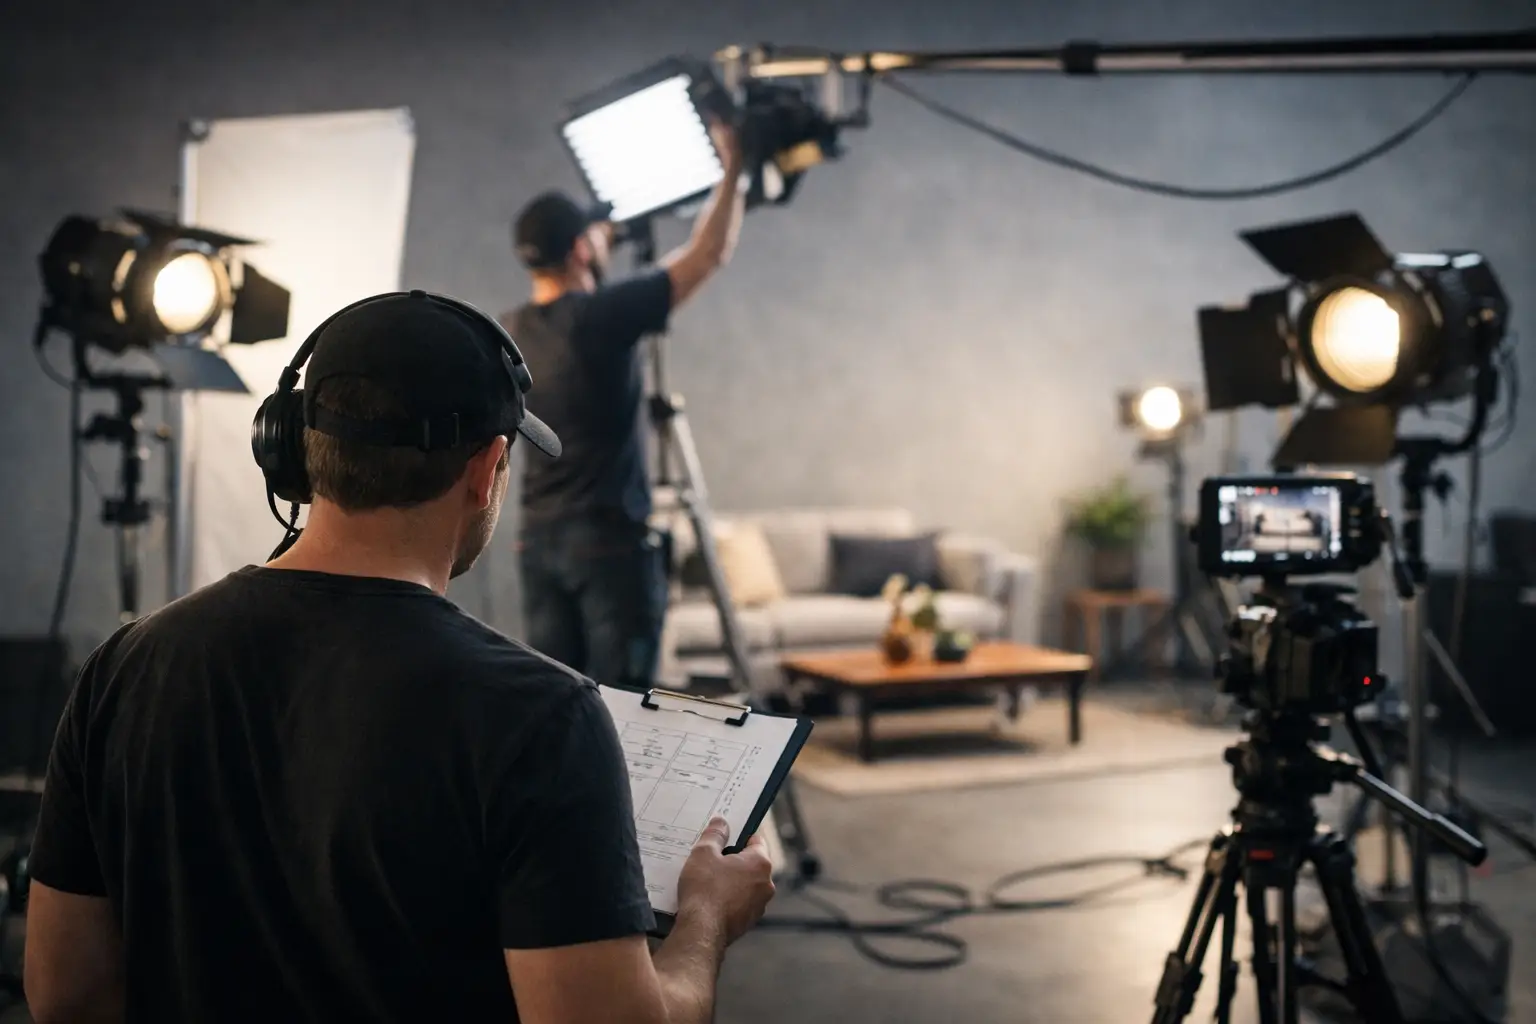
The first crew call should not be the moment your team discovers a stand will not clear the set, the power run is short, or the key light needs to move three metres. Knowing how to plan studio prelight means resolving those problems before talent, clients and a full shooting crew arrive. Done properly, prelight protects the schedule, gives the director and photographer better creative control, and stops expensive studio hours being spent on avoidable adjustments.
For a simple product shoot, prelight may be a focused evening of building one lighting setup and confirming exposure. For a commercial, music video or multi-set campaign, it can involve rigging fixtures, testing practicals, positioning camera equipment, checking sightlines and preparing every department’s working space. The principle is the same: make shoot day about performance and capture, not construction.
Start with the shoot, not the lighting list
A prelight plan starts with the treatment, shot list and schedule. Read them as production documents, not just creative references. Identify the hero shots, the number of sets, the direction of travel through the day and any moments where the lighting must change significantly.
Ask what has to be ready at crew call, what can be completed between setups, and what cannot move once the client approves it. A tabletop shoot with four product variations may need one flexible lighting system. A vehicle shoot or set build may need access routes protected until the final item is in position. If there is a green screen element, establish whether the priority is even backing exposure, subject separation or a combined virtual production workflow. Those requirements lead to very different rigging decisions.
Build a practical prelight schedule with the gaffer, camera team, art department and studio contact. Include arrival times, delivery windows, build order, rigging time, a camera test, client or director review if required, and a clear handover point. Do not assume that a nominal four-hour prelight delivers four hours of lighting work. Loading, safety checks, build delays and cable management all take time.
Confirm the studio can support the plan
The strongest lighting plan fails if the space restricts how it can be installed. Before booking, establish the working footprint rather than judging a studio only by its advertised floor area. You need to know ceiling height, grid positions, available power, blackout control, cove dimensions, access height and width, and where crew, cases and client monitoring will sit.
High ceilings and a proper lighting grid give a production more options than floor-standing every source. They allow overhead soft light, controlled top light and cleaner floors for wider frames. But overhead rigging requires competent crew, appropriate fixtures and enough time to install, focus and secure everything. For a fast-turnaround social campaign, stands may be the more efficient choice. For a polished automotive, fashion or commercial set, pre-rigging can be the difference between an ambitious lighting design and a compromised one.
Access matters just as much. If large scenery, a drive-in vehicle, bulky diffusion frames or a substantial grip package are involved, ground-floor shutter access reduces handling time and the risk of damage. Free parking and 24/7 availability also change the economics of a prelight. An evening build can protect a full shooting day, rather than forcing the crew to use premium morning hours for load-in.
At Cineview Studios, the combination of a large production floor, high lighting grid, blackout capability, drive-in access and in-house lighting and grip helps crews prepare properly instead of working around the limitations common in smaller London studio spaces.
Check the equipment against the actual treatment
Create an equipment list from the desired image, then test that list against what is available in-house and what must be hired in. Include fixtures, stands, rigging hardware, modifiers, frames, flags, textiles, power distribution, extension leads, dimming or control, haze where permitted, and consumables such as tape, sandbags and spare lamps.
Do not simply specify “soft key” or “hard backlight”. Record the fixture, modifier, mounting method and approximate position. This makes the plan understandable to the crew and highlights potential clashes early. A 12 x 12 diffusion frame may deliver the right softness, but it needs clearance, support and a workable route for the camera. Likewise, a large lantern may be ideal for a top-light effect, but only if the grid position and ceiling height support it.
Build the prelight in the right order
Start with the elements that are hardest to move. That usually means the set, cove preparation, vehicle position, major scenic pieces, overhead rigging and practical lights. Once these are locked, establish camera position and lens range for the priority frame. Lighting without a defined camera view is often a costly approximation.
Then build the base exposure. For a white cove, decide whether it needs to hold pure white, fall to grey, or carry controlled gradients. For a blacked-out set, remove uncontrolled reflections before adding dramatic sources. For green screen, test for evenness across the backing and avoid pushing green spill into wardrobe, hair or reflective products. These are not finishing touches. They determine how freely camera and talent can work on the day.
Add key, fill, edge and background control in that order, but treat the arrangement as a starting point rather than a rule. The camera test will show whether the intended contrast works with the chosen lens, costume, product finish and grade. Reflective packaging may need larger, more carefully positioned sources than the mood board suggests. Dark wardrobe can disappear against a dramatic background until a subtle separation light restores shape.
Keep the set tidy as you work. Mark stand positions where useful, run cables away from camera moves and walkways, and use safety bonds and sandbags correctly. A clean prelight saves time because every adjustment is visible and every department can enter the space without undoing another team’s work.
Test what will actually happen on shoot day
A prelight is incomplete until it has been tested under shoot-day conditions. Bring in the correct camera where possible, the intended lens range, representative wardrobe, hero product, props and any practical effects. If the final item is unavailable, use a convincing stand-in with similar size, colour and reflectivity. A clear bottle, chrome prop or glossy vehicle panel can expose lighting issues that a cardboard substitute will never show.
Record exposure, white balance, dimmer values, fixture settings and camera positions. Take reference stills of each approved setup, including wide photographs that show stand placement and cable routes. If there are several looks, label fixtures and keep a simple lighting plot. The goal is not paperwork for its own sake. It is to let the team reset quickly after a break, a client change or a required camera move.
Test motion as well as still frames. Check flicker at planned frame rates and shutter angles, look for boom shadows, confirm that practicals read correctly on camera, and run any dolly, gimbal or vehicle move at least once. If talent will work close to the cove, a set wall or a green screen, check where their shadow falls. Small issues become major delays when a full crew is waiting.
Plan for change without rebuilding everything
Clients may ask for a brighter background, an additional product colourway or a second format for vertical delivery. Good prelight planning leaves room for that. Keep a portion of the rig adaptable, retain spare channels or power capacity where possible, and avoid placing every stand in a position that blocks camera alternatives.
That said, flexibility has a cost. Overbuilding a lighting system for every possible request can consume budget and setup time. For a tightly defined shot list, a leaner setup may be the smarter commercial decision. Agree in advance which changes are covered by the prelight and which would require additional crew time or equipment.
Protect the handover from prelight to shoot
Before leaving the studio, walk the set with the relevant department heads. Confirm what must not move, what remains to be completed, where cases will be stored and who has responsibility for powering up the rig. Check that batteries are charging, media and monitors are prepared, and the studio is secure if the prelight is taking place overnight.
Leave the first setup camera-ready where possible. That means the approved lights are focused, the set is dressed, cables are safe, camera marks are recorded and any final adjustments are known rather than guessed. On shoot morning, the crew should be able to make a fast technical check, bring in talent and begin work with confidence.
A well-planned prelight is not about adding complexity to a production. It is about putting the complexity where it belongs: before the clock starts running on the people, performance and images that matter most.