
Free practical guide · Photographers
How to plan a simple portrait lighting setup
Plan the look, test the frame and record a repeatable portrait lighting setup.
Follow the five steps below and use the matching free worksheet to record the decisions. Adapt the process to your project, crew and agreed production procedures.
Five practical steps
Step 1
Define the look
Choose references for the intended portrait and background.
Step 2
Plan the subject and light position
Sketch the arrangement and check equipment suitability with the studio team.
Step 3
Make a test frame
Check exposure, focus and the effect on the subject and background.
Step 4
Change one variable at a time
Compare results as you adjust the light position, modifier or reflector.
Step 5
Record the chosen setup
Keep a diagram and notes so the team can repeat the result.
Original teaching example
A fictional portrait setup
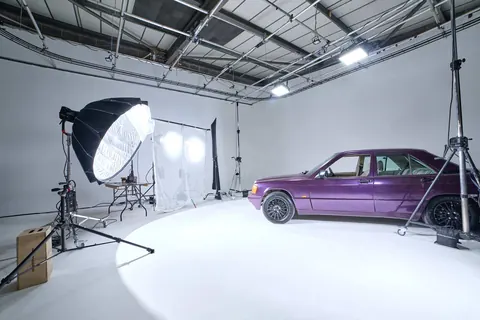
Start with a soft key to one side of the camera and test the frame. Compare the shadow side before adding fill, then note the approved camera and light positions. This describes a creative test, not an electrical or rigging specification.
This fictional example illustrates the process. It does not describe a Cineview client project or replace confirmed instructions for your shoot.
Before you share the plan
- Check the date, version and responsible contact.
- Separate confirmed details from open questions.
- Use consistent scene, shot or file references.
- Give actions a named owner and realistic deadline.
- Share only the personal information each recipient needs.
Ask the relevant department lead to check practical details. Keep older copies clearly marked and tell recipients when a revision changes something they need to act on.
Watch and compare: Video Lighting Techniques — Nailing that Cinematic Look (with a Fill Light)
Reference video from StudioBinder. Compare its approach with this practical guide; inclusion does not imply endorsement.
YouTube loads only when you choose to load the video.
Watch on YouTube ↗Download your working document
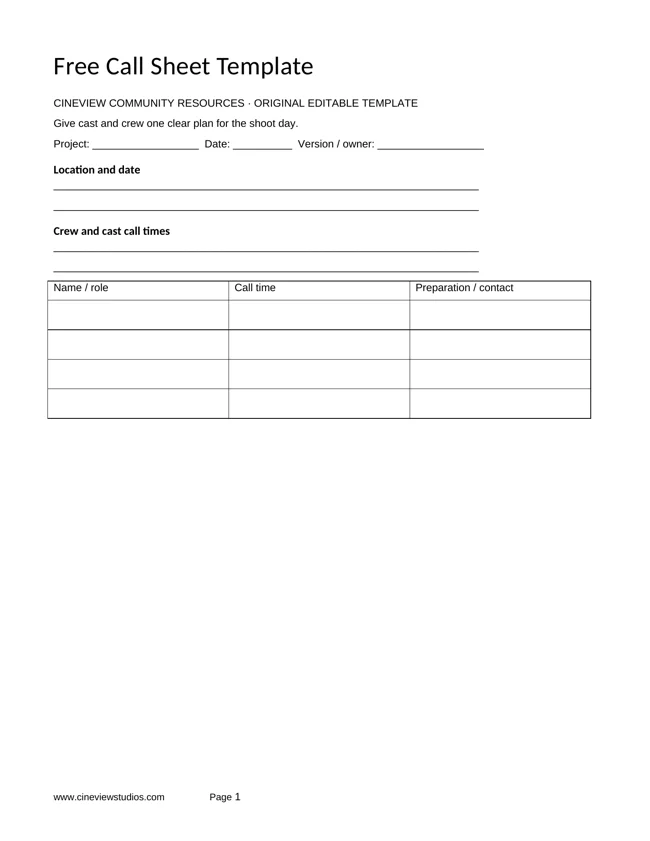
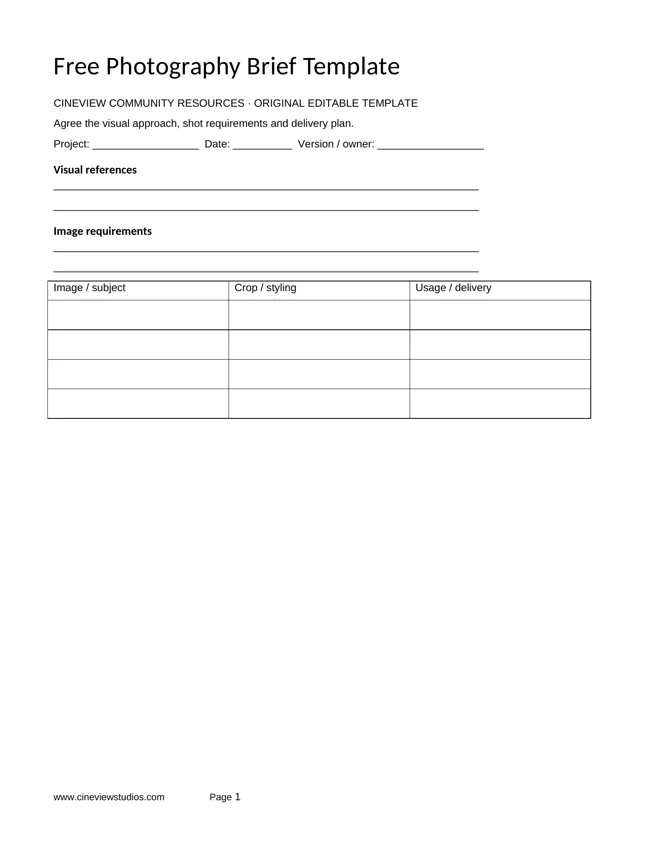
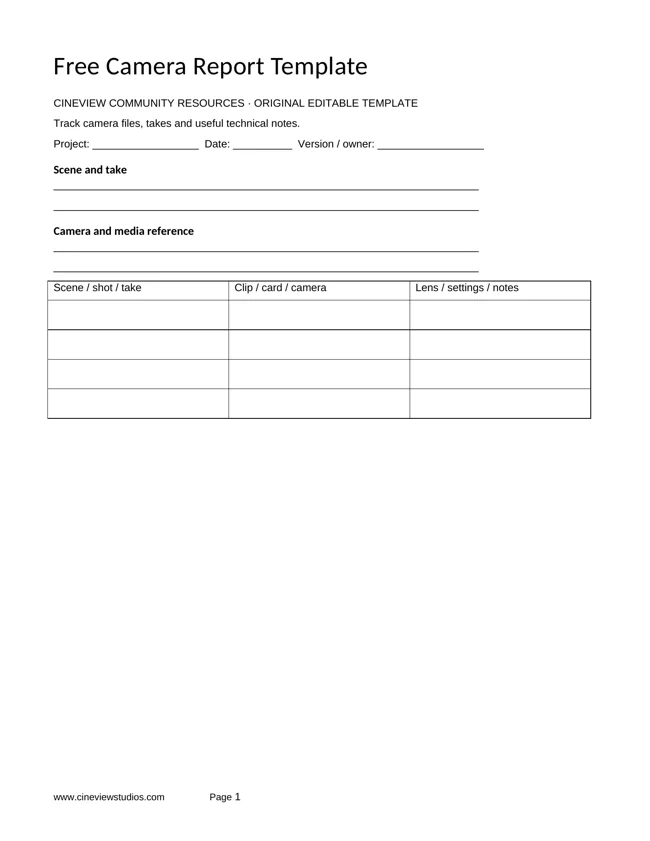
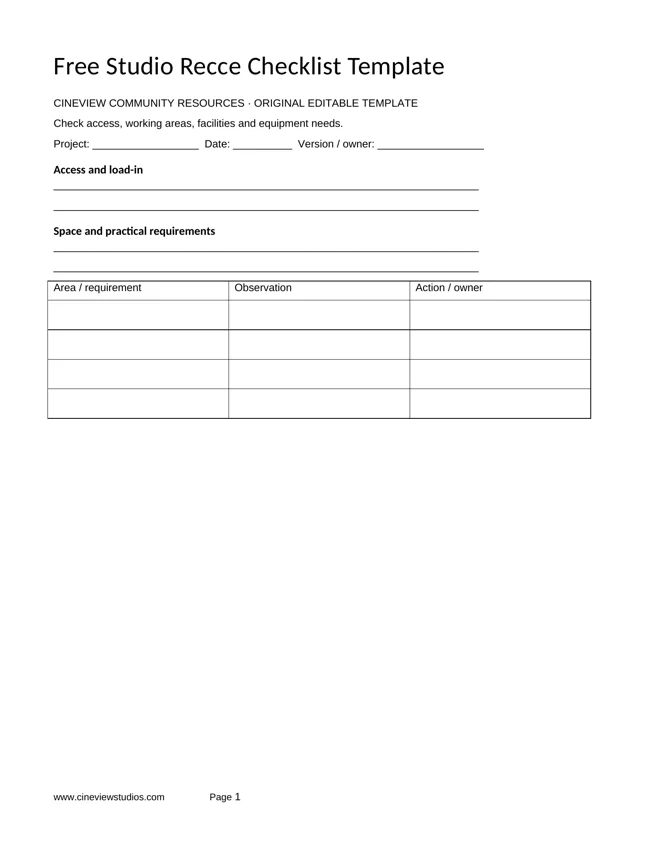
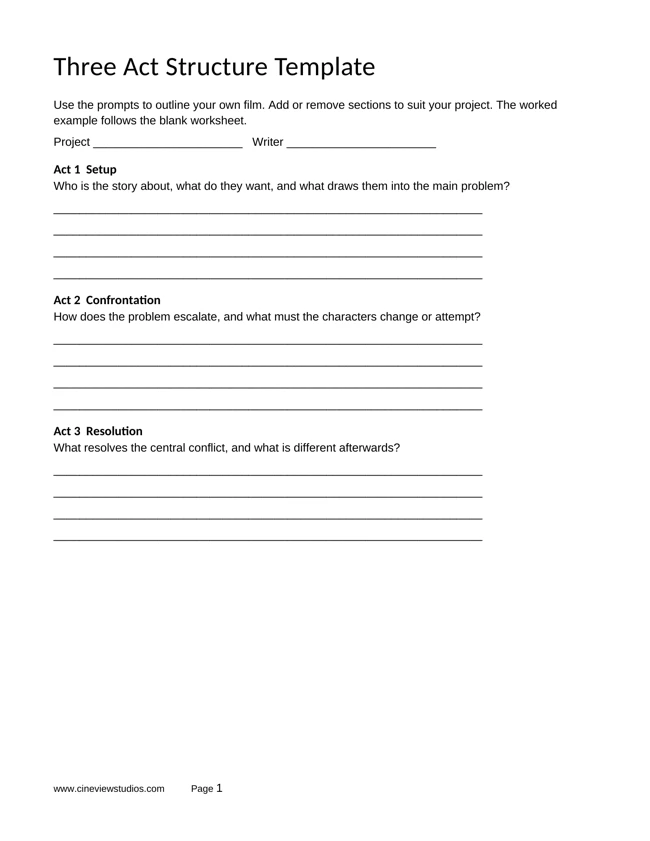
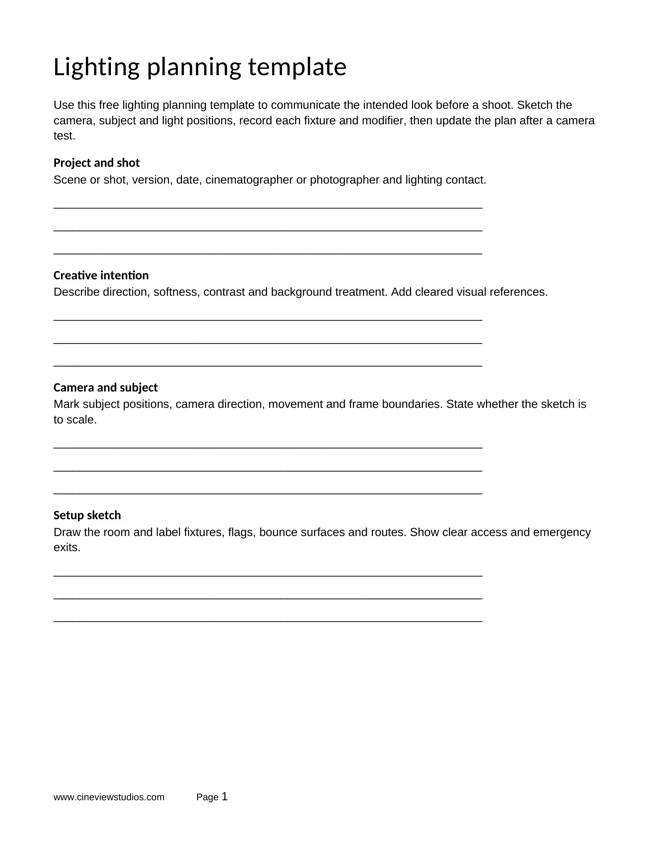
Download a free lighting planning template in PDF and Word. Map camera and light positions, log fixtures and record tests for photography and filming. The printable PDF and editable Word file are free, without sign-up. Word files also open in Apple Pages.
Plan your studio shoot
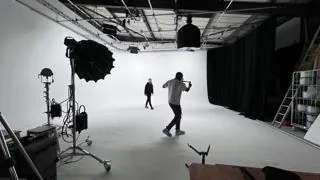
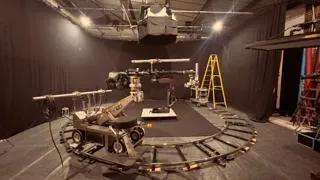
Explore film studio hire, photography studio hire and the equipment list. Planning documents are optional to share with Cineview. Contact the studio with your space, dates and equipment requirements.
Send this free resource to a colleague, your production team or a WhatsApp group.
Use and attribution
You may adapt our original worksheets for your own production planning. Keep the website credit when sharing an unchanged template. These educational resources are not legal, financial or safety advice. Film titles, story frameworks and third-party videos belong to their respective rights holders. Cineview Studios is not affiliated with those publishers, and inclusion does not imply endorsement.
References are provided so you can compare approaches and form your own view. Check the rights to any photographs, scripts, music or other material you put in a production. Protect personal information when sharing crew and cast documents.